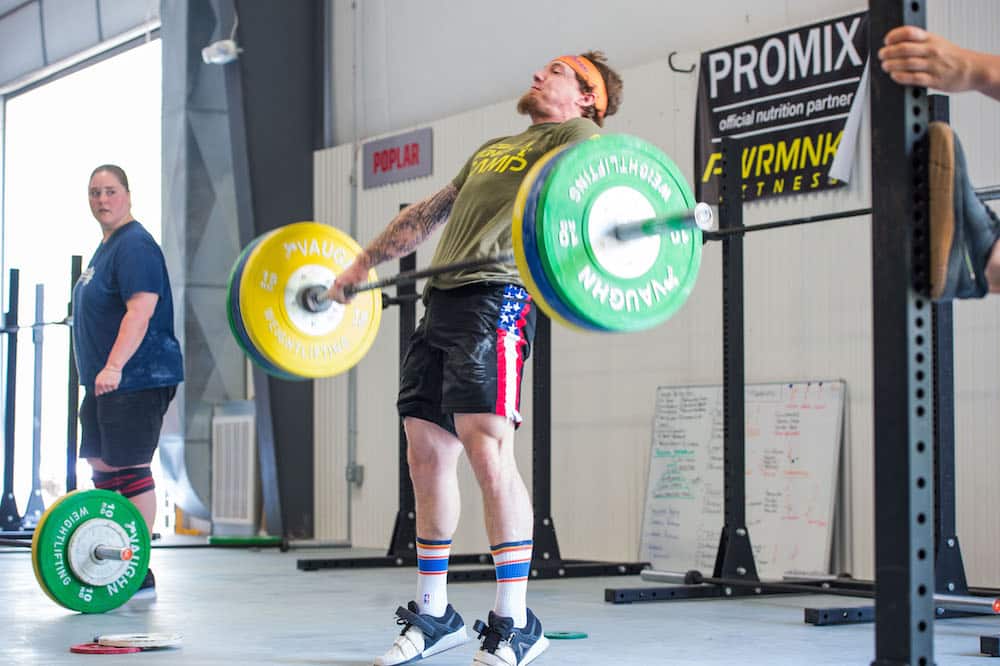
Upper body power and explosiveness is essential for Olympic weightlifting, athletic sports, and overall functional fitness. Performing standard exercises with constant speeds and tempos can develop strength and muscle, but can sometimes lack the ability to increase rate of force development and explosiveness.
In this article, we will offer lifters and coaches of all levels a variety of upper body explosive exercises that can help to increase power output of the chest, shoulders, and triceps necessary for sport and life.
- Reasons Why You Should Be More Explosive
- Muscles Worked by Explosive Upper Body Exercises
- 8 Explosive Pressing Variations to Develop Upper Body Power
2 Reasons Why You Should Be More Explosive
Below are three benefits of increasing upper body explosiveness.
1. Increase Muscle Growth
Increasing the development of muscle tissues cannot be done using one contractile velocity. Muscles have varying degrees of fast and slow twitch muscle fibers. In order to maximally recruit more muscle at once, build muscle mass, and increase overall program success a coach/athlete should integrate power/explosive movements within most training programs.
2. Application to Sports
Increased upper body power output can be beneficial for powerlifters, weightlifters, strongman, and sport athletes. In sports like football, boxing/MMA, and rugby, the ability to exert high amounts of force with the triceps, chest, and shoulders could be the difference between a missed block, knockout punch, or creating separation from the defender.
Muscles Worked – Upper Body Explosive Exercises
Below are the three main muscle groups targeted by doing upper body explosive exercises.
Pectorals (Chest)
The chest muscles are responsible for horizontal pressing and can be helpful for sports or situations where force must be applied horizontally (and even to a degree, vertically). This is especially key for fighters, contact sport athletes, and powerlifters.
Deltoids (Shoulders)
The shoulder muscles are responsible for vertical pressing and can be helpful for sports or situations where force must be applied vertically (and even to a degree, horizontally). This is especially key for Olympic weightlifters, overhead sport athletes, and functional fitness enthusiasts.
Triceps
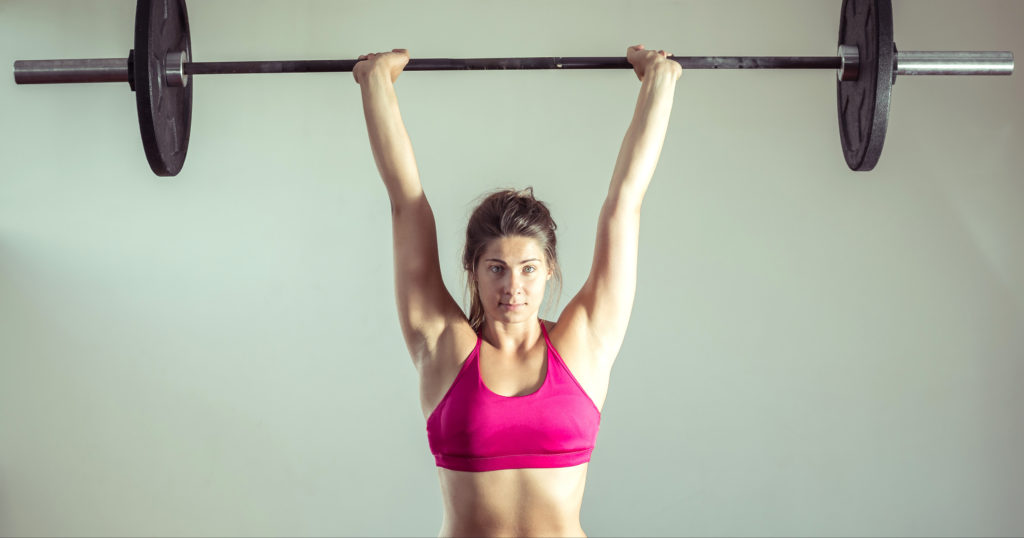
The triceps assist in both vertical and horizontal pressing, making them key for all lifters. Increasing the ability to exert force via elbow extension will aid in upper body pressing performance and overhead stability.
8 Explosive Pressing Variations to Develop Upper Body Power
Below are eight (8) pressing variations to develop upper body power of the chest, shoulders, and triceps that can translate to vertical and horizontal pressing movements.
1. Push Press
The push press is an overhead power movement that combines a standard overhead press with powerful hip and knee extension to increase vertical force output. The push press has been shown to be an effective exercise for increasing the jump performance as well.
While the push press targets a great deal of lower body power and explosiveness, this exercise can also help to strengthen and increase upper body power. Weightlifters, fighters, and other athletes looking to improve power output with the shoulders, triceps, and chest can integrate this exercise using moderately heavy loads.
If you know your push press max, start by performing 5 sets of 3 reps with 70%, focusing on aggressive extension of the hips, knees, and elbows.
How to Do Push Presses
1.
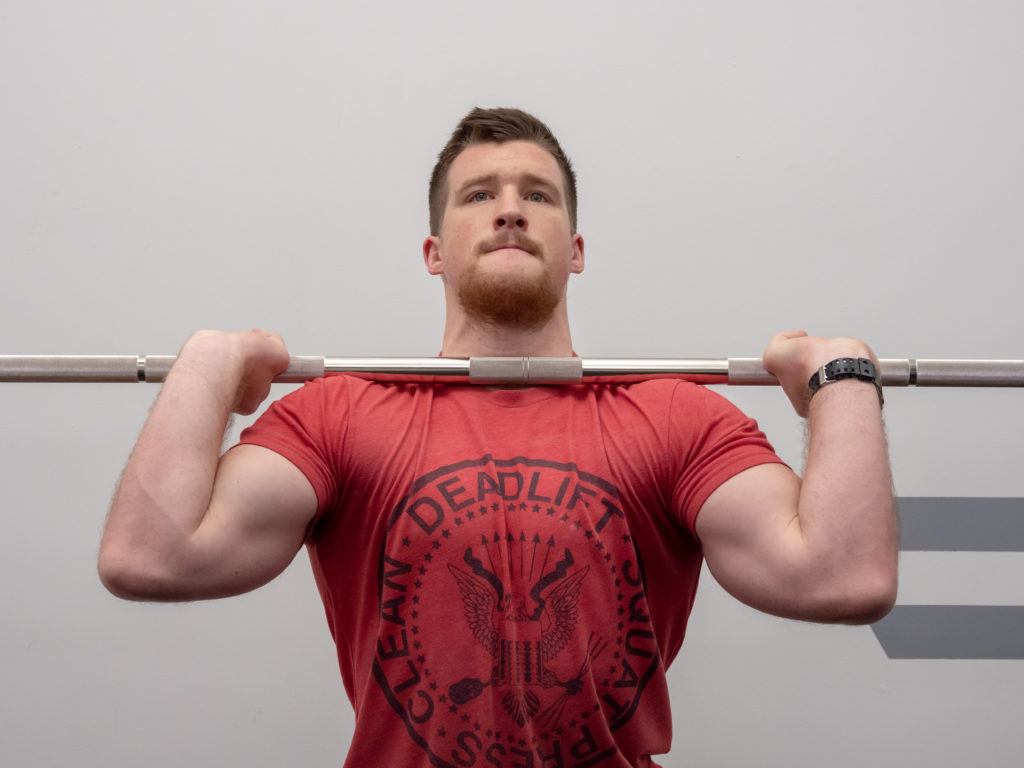
Assume an Upright Front Rack Position
Start by assuming the same front rack positioning you would take in a jerk or front squat.
To do this, grab the barbell with a full grip (not fingertips) slightly wider than shoulder width. Squeeze the barbell and press the barbell close to your body as it sits on top of the shoulders. The chest, chin, and elbows should remain pressed upwards in front of the barbell to combat forward movement (rolling) of the barbell.
Coach’s Tip: Think about pushing you chest up through the bar to keep the weight of the barbell from collapsing your upright position.
2.
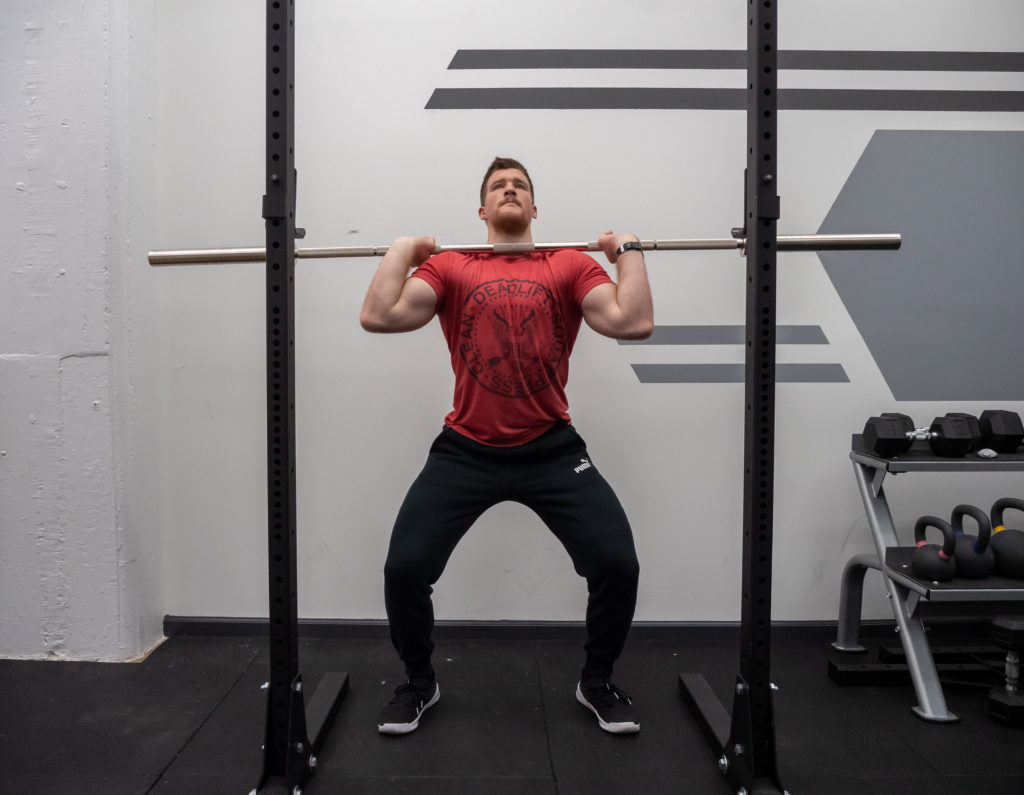
Smooth Dip
The dip phase of the push press is identical to that of the split, power, and push jerk. The lifter must assume a perfectly upright torso position (think about keeping the body up against a wall as you dip) as dip downwards 4-6 inches. The dip should be balanced throughout the foot with the knees and hips bending together, so that the glutes stay directly above the heels.
The dip does not need to be extremely fast, however it should be smooth and fluid to allow the lifter to remain in control of the positioning during the deep and seamlessly change directions into the drive phase.
Coach’s Tip: You must remain in this locked and upright position throughout the dip – loading of the legs) phase. Any forward or backwards collapsing will negatively impact steps 3-4.
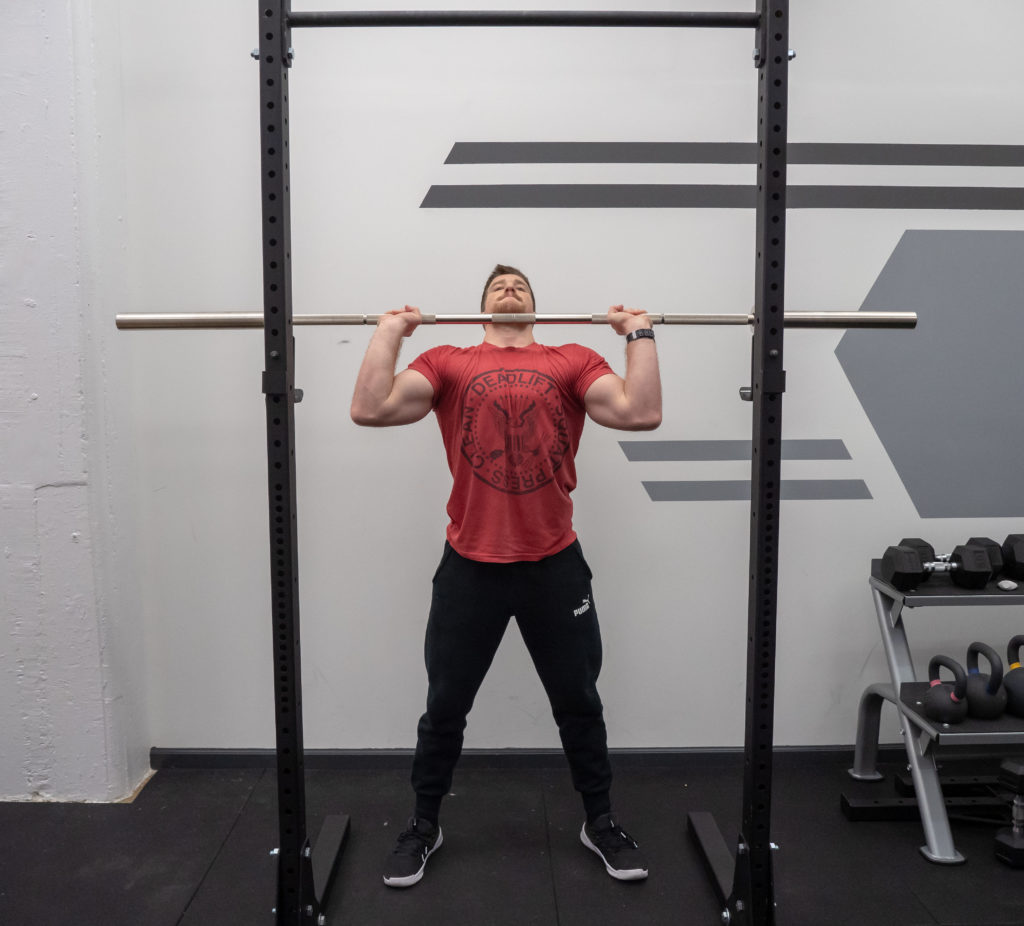
3.
Aggressive Drive
Once you have completed the dip, you should aggressively change directions by pushing you torso and chest upwards through the barbell and using the legs forcefully drive yourself upwards. The arms and elbows should stay locked in the original set up position until the barbell as been pushed off the shoulders (by using the power and strength of the legs and hips).
As you stand up, think about pushing the chest and shoulders up through the barbell.
Coach’s Tip: The key to the drive up phase is to master the tempo and depth of the dip. The better you can assume an upright and stable position in the dip while adding on some downwards acceleration in the dip will allow you to use the stretch reflexes of the muscles and joints of the lower body to further enhance push press performance.
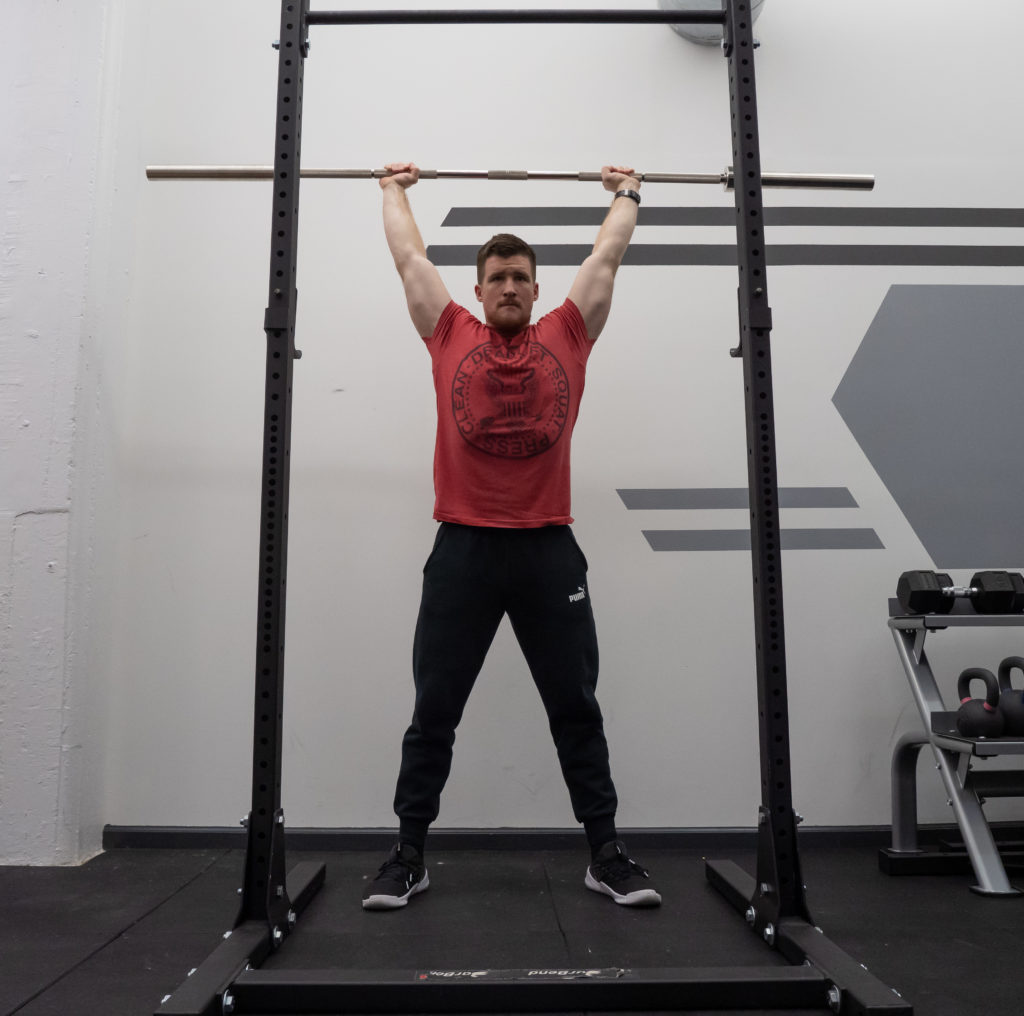
4.
Strong Lockout Position
Assuming you have stayed upright in steps 2 ad 3, this final press out phases should begin with the barbell just about face level. You need to push through the barbell with all of your upper body strength (without bending the knee) to assume a locked out overhead position.
Once overhead, the barbell should be placed slightly behind the head, over the back of the neck. This will allow you to use the bigger muscles of the bar (traps and upper back) to help support the load.
Coach’s Tip: To ensure the completion of the final lockout phase, all three previous steps must occur in sync. If you are having issues with the final lockout position, be sure to review steps 1-3 and/or address more triceps specific exercises (close grip bench, dips, etc).
2. Power Jerk
The power jerk is another vertical pressing explosive exercise that can have high application to Olympic weightlifting, sport athletes, and anyone looking to maximize shoulder strength and power. This exercise is similar to the push press, however entails a lifter to re-bend the knees and hips after pushing the weight of the body to assume a low and stable receiving position.
By allowing the lifter to re-bend the knees and hips to receive the barbell, the lifter is often able to handle heavier loads and increase force output when compared with push presses and strict presses.
Start with 5 sets of 2-3 repetitions at 70% of your jerk max. If you do not know what you maximum is, choose a load that allows you to perform the movement aggressively, confidently, and without pressing the lift out. Note, many beginners have poor jerk technique, often due to lack of coaching and using too heavy of loads.
3. Bench Press Throws (with Smith Machine)
This is an explosive bench press variation that requires a spotter and a Smith machine. This is not recommended to be done with a barbell, dumbbells, or other free weights, as it can be extremely hazardous to your health and those around you.
To perform this moment, load a Smith machine bar with a light to moderate load, and explosively throw the weight off the body, keeping the bench press set up contracts. For additional safely, set the safety hooks/stoppers at chest level just in case you need them (so the bar doesn’t come crashing down on the sternum).
This exercise is great for athletes and lifter looking to increase the rate of force development and explosiveness necessary for contact sports, fighting, and increase acceleration of the bench press.
4. Lying Medicine Ball Chest Throws (with Partner)
This upper body plyometric exercise is a great method to increase upper body power for sports like basketball, fighting, and football. This also can help increase muscle engagement of the pectorals and triceps if you are looking to recruit more fast twitch muscle fibers (aren’t we all).
To do this, lie supine (face up) on the ground as a partner holds a light 6-10lb medicine ball over your chest. When ready, they will drop the bar downwards so that you can secure it and go directly into the chest throw. As you catch the bar with the hands, pull the ball to the chest and aggressively throw the ball as high as you can vertically into the air.
5. Medicine Ball Squat Throw
The medicine ball squat throw is similar to a thruster or wall ball, except that it is done with MAXIMAL force output and vertical trajectory of the load. To perform this movement, a lifter must attack each throw individually, even in sets of multiple throws, as throwing this with anything less than maximal effort negates its ability to produce power.
Start with a 20 lb ball, squat down, and then aggressively push your entire torso and arms upwards into the ball to throw it as high as you can into the air. Do not try to catch the ball.
6. Plyometric Push-Up
The plyometric push-up is a powerful bodyweight exercise that can be done to increase the rate of force production and muscular power.
Once someone has properly learned and developed the capacity to perform 10-15 strict push-ups, they can integrate the plyometric push-ups within workouts in small amounts to increase muscle power, stimulate new muscle fiber growth, and increase neurological firing.
How to Do Push-Ups
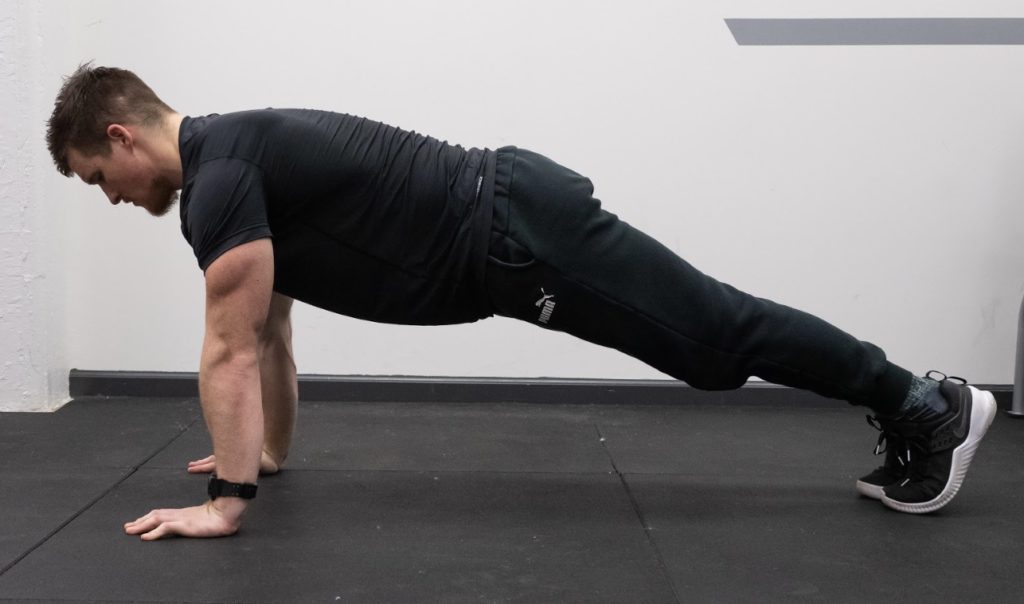
1.
Assume a Plank Position
To perform the push-up, start at the top of the plank position with the back flat. The arms should be fully extended with the hands directly underneath the shoulder joint. The feet and thighs should be pressed actively together.
Often, beginners will place their hands too far forwards in front of them. Be sure to place the hands under the shoulder joint, maybe even slightly back towards your hips.
Coach’s Tip: Assume a plank with the torso rigid and back flat. The head should remain in a neutral position.
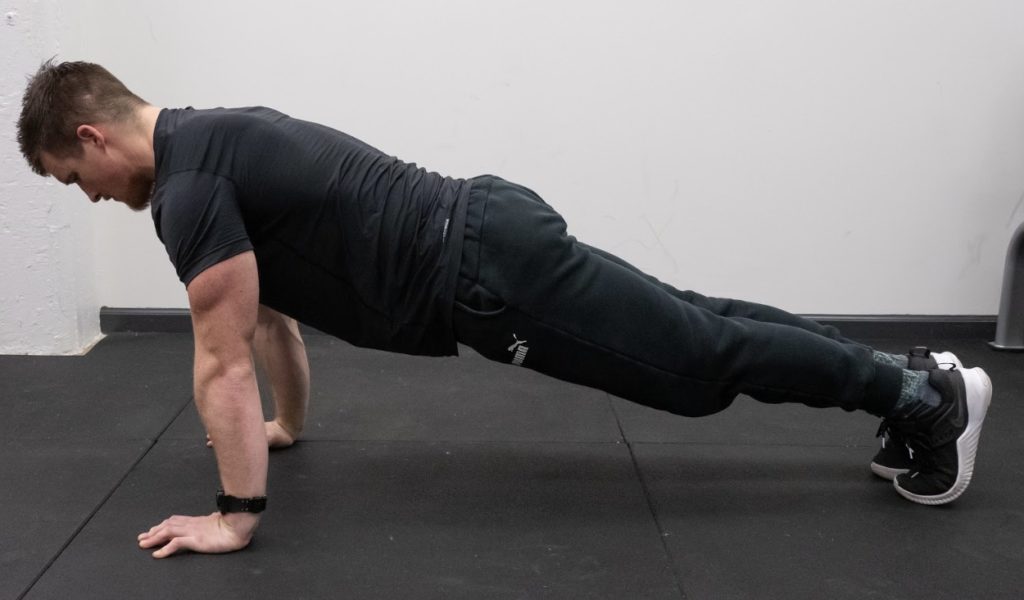
2.
Set Your Back
While in the plank position, actively pull your shoulder blades together to create tension in the upper back. This will help stabilize the shoulder girdle and ensure proper stability in the lowering phase of the push-up.
Set the back by pulling the shoulder blades towards the hips and extending the upper back. Be sure to not let the hips sag or lower back hyperextend while in this position.
3.
Pull Yourself to the Floor
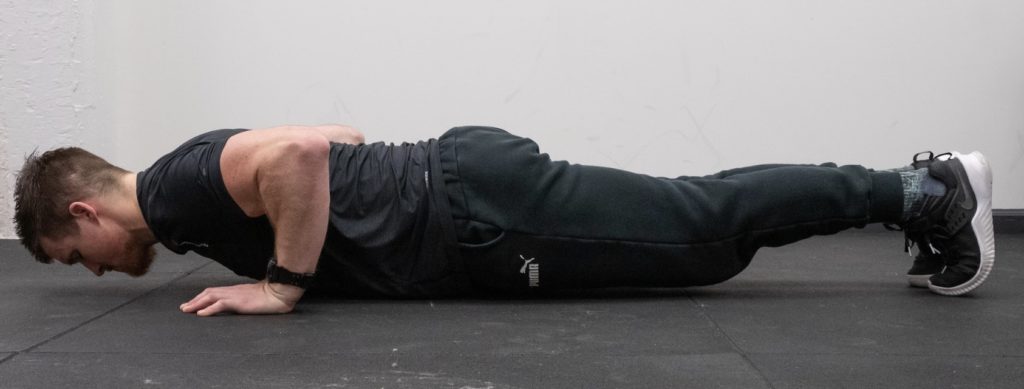
Once you are set, think about pulling your elbows to the back, similar to a row position. This will help activate the upper back muscles and provide you with stability as you approach the bottom of the push-up.
Do not let you head or shoulders slouch forwards towards the floor. Rather, think about pulling your sternum in between your hands.
Coach’s Tip: The thighs, hips, and chest should all make contact on the floor at the same time. If these are out of order or do not occur at the same time, this may suggest sagging of the hips and/or hyperextension in the lower back.
4.
Reach Into the Floor
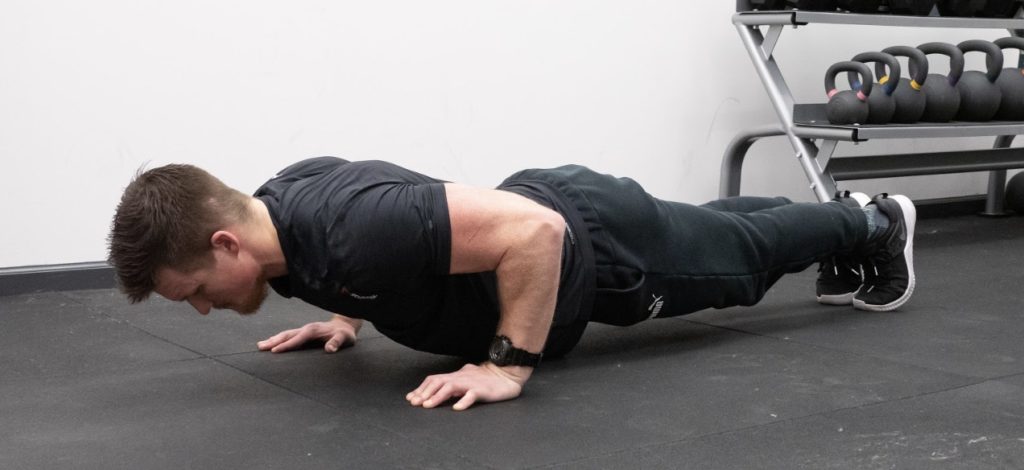
Once you have touched the floor, press yourself away and upwards by trying to reach your hands into the floor. By thinking about reaching, rather than pushing, you can reframe the movement to have the body find stability and strength from the upper back.
Push yourself away from the floor, and focus on keeping tension in the upper back.
Coach’s Tip: Stay rigid in the torso and be sure to not let the hips sag in the upwards movement of the push-up.
7. Viking Press
The Viking press is making its way into strongman, athletic, and functional fitness programs due to its ability to increase upper body strength and power, similar to the push press. In the Viking press, the lifter places their hands in a more neutral position, and pushes the load upwards and slightly outwards, which could translate to combat/levelage sports (football, boxing, etc).
To perform the Viking Press, you can either use a specialized bar or you can use landmine set ups. Some coaches have also had success using two barbells in a squat rack.
8. Banded Bench Press
Using accommodating resistance can help to increase the rate of force production and muscle engagement in exercise like squats, deadlifts, bench presses, push presses, and more.
When using bands and chains during the bench press, it is important that the loading does not impede a lifter from performing an explosive lift, but rather offer a slightly noticeable increase in resistance throughout the entire range of motion.
Want to Build a More Explosive and Powerful Squat or Deadlift?
Here are two articles than can help you increase total body power, specifically the lower body and posterior chain!
- 3 Explosive Squat Variations to Build Lower Body Power
- 10 Box Jump Variations to Boost Leg Strength and Power
Feature image from Ajan Alen / Shutterstock
