Ah, pyramid training. There’s something about getting in and out of a muscle group (or a cardio-esque workout) quickly and not-at-all easily that is immensely satisfying. Unlike traditional (and more basic) approaches to strength training — you know, the old 3 to 5 sets of the same number of reps at the same amount of weight — pyramid training alters the weight and/or rest periods throughout your workout to provide an unusual type of challenge to your muscles and your cardiorespiratory system. When you’re low on time, low on space, low on motivation, can’t think of a fun workout, or you’re stuck in a plateau, pyramid training can be a very useful tool. Think we’re overselling it? Read on.

Pyramids, Reverse Pyramids, and Straight Set Pyramids
In short, pyramid training often mirrors what a pyramid looks like: starting big at the bottom (lighter weights performed for more reps) and getting smaller toward the top (progressively heavier, with fewer reps). A reverse pyramid is, well, reversed: starting heavy and gradually decreasing weight as you increase the reps. Want both? Start with lighter weights, go up to heavy, then go back down.
Pyramid training can also (as you’ll read below) involve one weight the entire way through, with time (rather than weight) being the pyramid-ing factor. This is sometimes called straight set pyramid training. But wait! If weight (see what I did there?) is supposed to be the changing variable in pyramid training, what is this blasphemy?
Honestly? It’s partly a decrease-your-rest-to-maximize-your-results strategy (not to be used every day of training!) and it’s partly a hey-bro-please-don’t-take-up-all-the-space-at-the-gym strategy. I’m a huge fan of both kinds of pyramids: the traditional kind in which weight is the variable, and the straight set kind in which time is the variable. Both forms are valuable and wonderful ways to experiment with space in your gym, as well as add variety to your workout.
However you set up your pyramid, they’re going to add a lot of fun, variety, and challenge to your routine.

What Are the Benefits of Pyramid Training?
Pyramid training is a great way to get through a workout quickly, efficiently, and effectively: for those days when you want a good pump and heavy breathing but don’t have the emotional energy to rest between each set and contemplate life; those days when you want to exhaust your muscles but need your mind on autopilot; those days when you need to work through a plateau and give yourself an extra challenge, but your regular training regiment just isn’t cutting it.
I love pyramid training on days when I’m particularly angsty and my depression is particularly tough: I get a good sweat in a short period of time, my muscles are burning in that pleasant sort of way by the end, and I had to focus all my mind’s energy on moving weights rather than planning or (heaven forbid) resting between each set.
And pyramid workouts with kettlebells are particularly satisfying: low-impact but high-intensity full body engagement and plateau-busting muscular endurance building? Yes, please.

Building Your Kettlebell Pyramid Workout
If the gym is relatively empty and no one is scrambling to find a matching set of 30kg bells, you’ve got a lot of freedom here: there’s almost nothing I love more than lining up a series of kettlebells, in descending order of heaviness, setting up my stopwatch, and… going.
What do I mean?
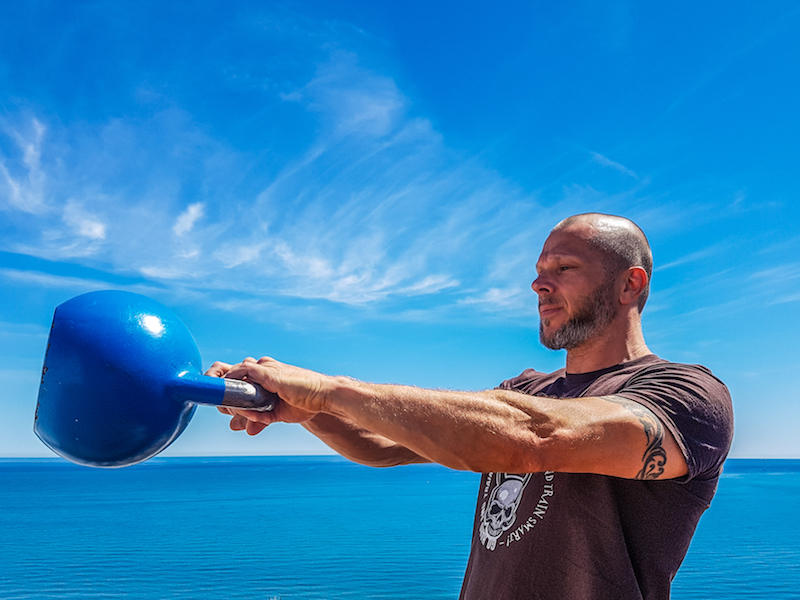
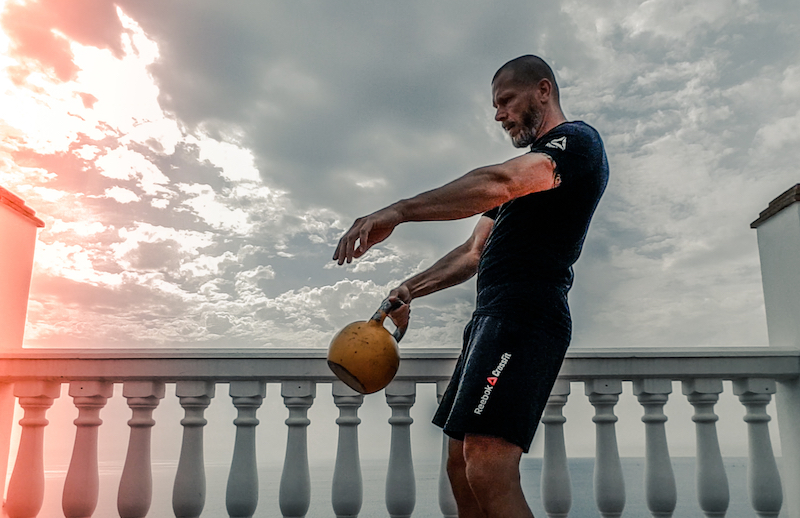
Say you want to build a descending pyramid of kettlebell swings. Grab the heaviest bell you’re comfortable swinging for about 10 reps and set it up on the floor. A foot next to it, set up the bell that’s the next lowest weight (so, if your first bell is 24kg, your second might be 20kg, depending on what your gym has). And so on and so forth, spanning six or so feet, with six or so bells.
Start your timer in a spot that’s visible from each position. Swing the first (heaviest) bell for 15 seconds; shift over, and swing the second (second heaviest) bell for 20 seconds; the third for 25 seconds; the fourth for 30 seconds; the fifth for 35 seconds; etc., until you get to your lightest weight. Try to keep the rest between bells to a minimum: between 30 and 90 seconds if you can. Longer and shorter rests are always welcomed: trust your body on this, and modify as you need to.
Want to do an ascending pyramid? Do the same setup, but start with the lightest weight and longest time, and move up in weight and down in time accordingly (pro tip: this is a great way to integrate your warm-up into your workout!).
But what if there are — *gasp* — people in the gym, and you can’t reasonably monopolize that many kettlebells or that much space? (Please, don’t be that person. No one wants to be that person.)
Here’s a way to experience kettlebell pyramid bliss without being that person.
[Read More: Want to design your own workout with your own kettlebell? Here’s our list of the best kettlebells on the market so you can grab one that suits you.]

20 Minute, Single-Bell, Full-Body Kettlebell Time-Based Pyramid
Here’s your straight set, one bell workout. Select a weight you can swing with ease; can clean with superb technique; and can single-arm overhead press with excellent technique, but only for 5 or so reps. The weight may feel almost redundantly light to swing and relatively easy to clean, but trust me: by the time your pyramid gets to the squat and press, you’ll be happy you went conservative with the weight.
Got your weight?
Let’s go for your pyramid.
Time will be your friend here, so make sure you’ve got a timer you can see and/or hear.
- Two-handed Single Kettlebell Swing – 60 seconds.
As you’re swinging, do your best to keep the bell above your knees rather than letting your back hunch (we don’t want that!) to get the bell closer to the ground. More powerful hips and a stronger low back will result, and if you’re worried about hurting yourself because this is so close to the crotch, I feel you! But, if you keep your swings so that your forearms land on your upper thighs on the downswing, you’re doing a great job of protecting yourself!
[Read More: Russian Kettlebell Swings Vs. American Kettlebell Swings]
- Single Arm Kettlebell Clean – 20 seconds each arm (40 seconds total).
Think you’re ready to clean? Awesome! But do your forearms think you’re ready to clean? If your last cleaning session left you super bruised on the backs of your forearm, you definitely want to read up on how it’s done before diving into this. Make sure that you’re gripping the bell from the side rather than in the center, so that the curve of the bell can rest in the pad between your thumb and index finger. To begin the movement, place the bell between your squat-stanced legs and rotate the bell so your thumb is pointing behind you when you grasp it. To avoid the dreaded flop onto your forearm, keeping your upper arm close to your torso throughout the lift, and think about rotating the bell around your wrist rather than swinging it up and over; that way, you’ll bring the bell down nice and gently onto your forearm. One might even say a proper lift looks… clean.

- Single Kettlebell Squat and Press – 10 second each arm (20 seconds total).
We’re doing this unilaterally to challenge your core and keep your entire body extra-engaged: also, we’re trying to only use one kettlebell. But, this is your workout; if you want to use two, have at it. Just make sure to motorcycle your hands forward while gripping the kettlebell — with the same offset grip you use with cleans — so that your wrists aren’t tugged backwards out of neutral by the weight. Pay special attention to this if you’re doing the single-arm variation.
- Single Arm Kettlebell Clean – 20 seconds each arm (40 seconds total).
You’ll be getting tired by now: be sure to keep your cleans…well, clean, technique-wise.
- Two-Handed Single Kettlebell Swing – 60 seconds.
Again, keep your swings above your knees. If you feel your technique breaking, it’s definitely better to rest the bell on the ground to catch your breath and let your body recover, rather than pushing forward in a way that will damage both your technique and your lower back.
- Rest for 80 seconds.
- Repeat for circuit four times.
Only have fifteen minutes? Only repeat the circuit three times.)
[For more in-depth descriptions of these movements, check out the author’s guide to low impact, HIIT kettlebell circuits!]

Get Your Pyramid On!
Whether you’re creating your own pyramid or using the 20 minute version outlined above, make sure you’re hydrated, using great form, and having fun. Let me know how what pyramids you create in the comments. Happy swinging!