
Kinesiology taping the knee is useful for the athlete who’s lacking full joint stability and proper movement patterning. Will tape compensate for a serious knee injury? No, but for an athlete who has trouble with proper knee tracking, or knee knocking (knees caving in), then they may find use in one of the knee taping strategies below.
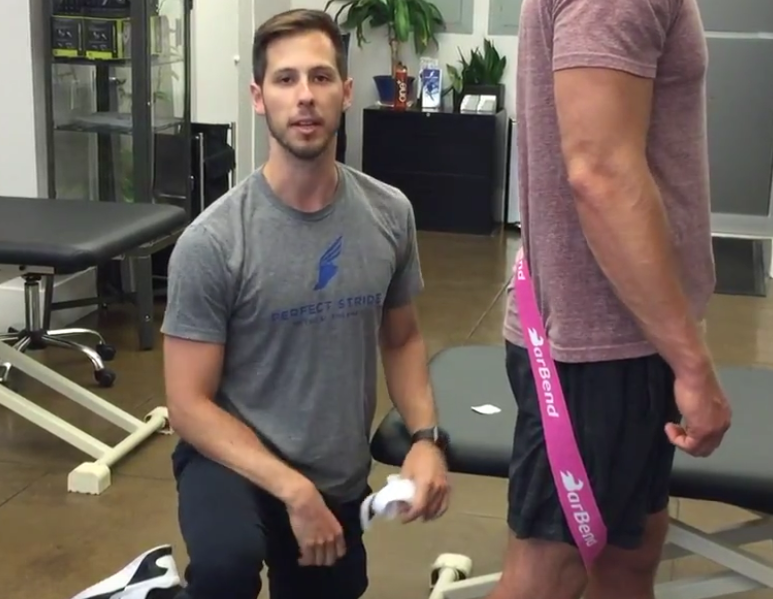
The knee tends to be a trouble area for a lot of athletes, and there are multiple reasons and methods to tape it. To assist us with two different taping techniques, we reached out to Joe Gambino, PT, DPT, and CSCS at Perfect Stride, New York City. Check out the video below that covers two simple techniques with their detailed descriptions below.
Note: All motions shown are for informational purposes only. The information in this article and video is not meant to prevent or cure any disease or injury. It’s always a good idea to consult with a medical professional or trainer before attempting any new training methodology. If you experience any sharp pain while exercising, discontinue movements immediately.
Why Tape the Knee?
As mentioned above, there are a few important reasons to tape a knee. First, proper movements patterns. A tape’s light stretch and tension on the skin can assist with proprioceptive stimulation. Potentially, tape can help cue the body to remember things like, “keep the knees out, or over the toes” during various exercises.
Second, tape can increase stability. For those who find their knees lacking stability, then taping around the patella can assist with support. Below are a few of the landmarks we’ll cover in our knee taping techniques.
- Inside of the Knee (Bony Landmark to the Medial Side of Patella)
- Outside of the Knee (Bony Landmark to the Lateral Side of Patella)
- Posterior Superior Iliac Spine (PSIS)
- Quadriceps Tendon
- Vastus Lateralis/Medialis
- Patella Tendon
The two methods below will facilitate different training adaptations and purposes. It’s important to understand when to use each method for knee taping success.
1. Medial Knee
To begin, an athlete will measure out a strip of tape to span from the inside of the knee, to the outside of the leg, then end on the PSIS, or hip bone. An athlete will then cut the edges of the tape, so they don’t get caught on clothes.
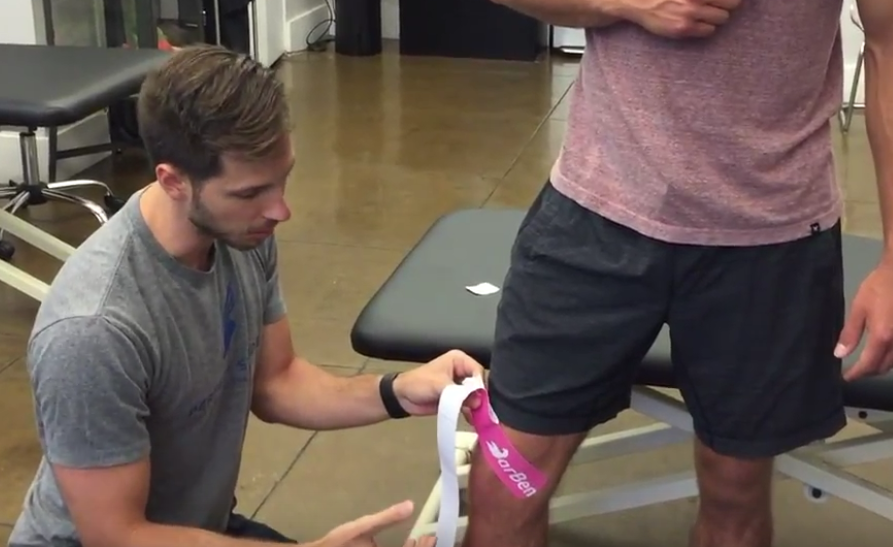
Once an athlete has the appropriate tape length, then they’ll create a two-inch anchor, and place the tape on the inside of the knee, so the slack is angled wrapping upwards toward the outside of the leg. Next, rub the anchor on, and continue peeling the tape and placing it on the body with a 20-50% stretch, so it falls on a diagonal pattern towards the outside of the leg. The athlete will then rub in the tape as they progressively peel off the backing to ensure it’s fully gripping the skin.
After the slack of the tape has been placed, the athlete will then finish with the last anchor falling on the hip bone. The athlete will rub in the last section. Once the tape is fully applied, then it should appear to be wrapping the leg like a vine. Below is a picture of what this taping method will ideally look like (every athlete’s tape lengths will be slightly different).
2. Knee Stability Taping
To start, take two pieces of tape and measure them to cover the knee from the bottom of the knee cap to about four inches up the thigh at an angle. Next, round the edges of the tape to avoid them sticking to clothes.
The athlete will then create a two inch anchor with one of the strips of tape, and place it just below the knee cap at an angle (either inwards, or outwards). Then, the athlete will rub in the anchor, and apply a 20-50% stretch, placing the tape around the knee cap, as if it’s circling/surrounding the patella. Once an athlete has placed the tape with the stretch and rubbed it in, the final step is to place the last two-inch anchor going up the thigh (this will typically fall about 3-4 inches up the quad).
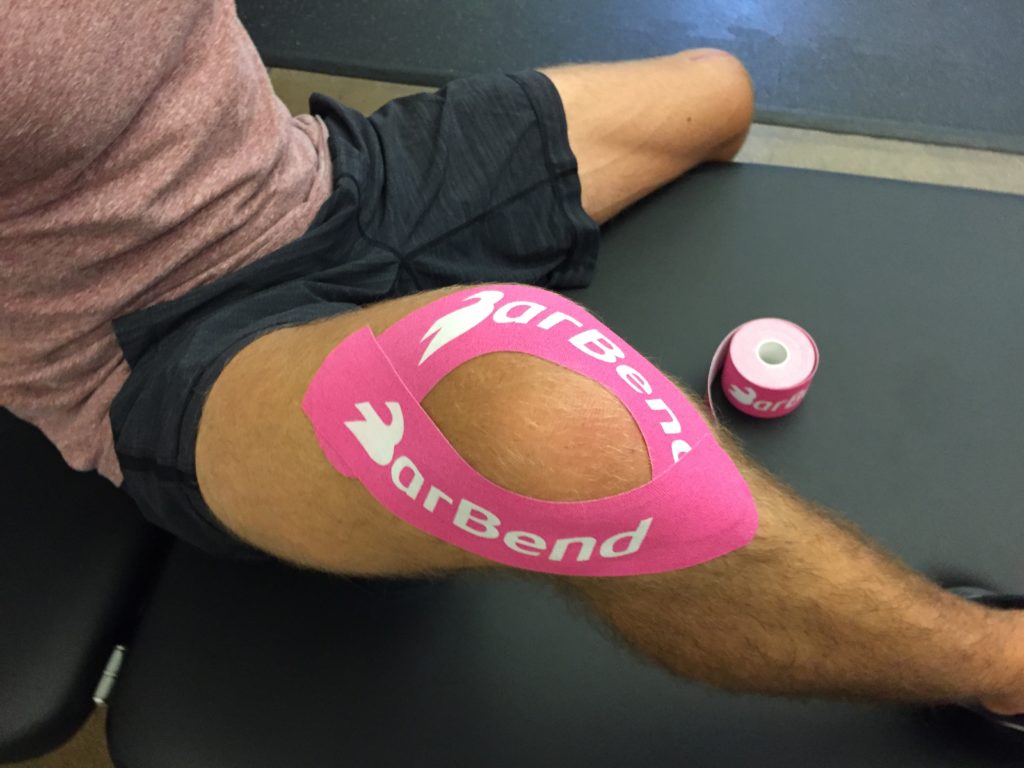
Repeat a similar taping method when doing the other side with the second strip, but reverse the direction with how the tape circles the patella. An athlete’s goal should be to place both strips in similar positions and create an oval around the knee cap to produce additional support.
Tips for Knee Taping with Kinesiology Tape
- Create Tension: Pay attention to how the joint moves and create tension with the tape by slightly retracting the scapula and sitting upright.
- Proprioception: Gambino stated that tape itself isn’t the cure for joint instability, but it’s a facilitator for the body’s perception of it. The skin is very sensitive and the tape’s ability to create tension will give the brain feedback to increase stability in the joint being taped.
- Even Strips: When using two strips of tape for taping the knee (in the second method), make sure to cut two pieces in similar length to ensure an equal stable fit.
- Stretch: Another aspect Gambino talked about was the amount of stretch for stability. He said that research is conflicted on how much stretch you need, and he usually does 20-50% stretch to enhance the additional proprioceptive feedback.
- Hair and Taking It Off: If you’re excessively hairy in a specific area, then you’ll pull off little pieces at a time, and use your hand to gently repeatedly chop the tape off (in a karate chopping motion). You can also pinch the skin to release some of the tapes tension, while taking it off in a partitioned manner.
- Cut the Edges: The final tip was the cut the edges of the tape, so it’s rounded. This will prevent the corners from getting caught on edges of clothes and shoes.
Final Knee Taping Considerations
There are multiple ways to tape the knee, and an athlete should choose which one matches their goals best. If the goal is proprioception and proper movement patterns, then an athlete will fair best utilizing the first method above. For stability, an athlete may find that the second technique is the better option.