
As a nation that sits for a majority of our work days, it’s not uncommon to see issues in the gym with the lower back. The back is made up of three segmented areas, which include the cervical, thoracic, and lumbar regions. Today we’ll be looking at the lumbar spine and ways to tape this area to create stability and help alleviate tightness.
To learn how to effectively have the lower back taped, we sought out the guidance of Joe Gambino, PT, DPT, and CSCS at Perfect Stride, New York City. Check out the video below that demonstrates an easy lower back taping technique, plus why taping this area can be beneficial for strength athletes.
Note: All motions shown are for informational purposes only. The information in this article and video is not meant to prevent or cure any disease or injury. It’s always a good idea to consult with a medical professional or trainer before attempting any new training methodology. If you experience any sharp pain while exercising, discontinue movements immediately.
[Looking for the perfect tape to fit your strength sport needs? Check out our Best Kinesiology Tapes of 2017 to find your perfect match!]
Why Tape the Lower Back?
An athlete can tape the lower back for multiple reasons, and the reasoning will be dependent on an athlete’s needs. The method demonstrated in the video is used to help stimulate the proprioceptors of the lower back to subconsciously cue the body to create stability by improving lifting postures. The body’s landmarks the tape will be in contact with are listed below.
- Posterior Superior Iliac Spine (two bony landmarks near lower back/tailbone)
- Erector Spinae
The goal of this taping method is to provide the body and skin with feedback to mentally cue a lifter to perform what’s known as “setting the back”. This postural positioning is what most know as maintaining the strong rigid lumbar posture in deadlifts (and other exercises), and will help a lifter prevent and avoid injury from excessive lumbar flexion.
2 Simple Steps to Tape the Lower Back
1. Posterior Superior Iliac Spine (PSIS) to the Erector Spinae
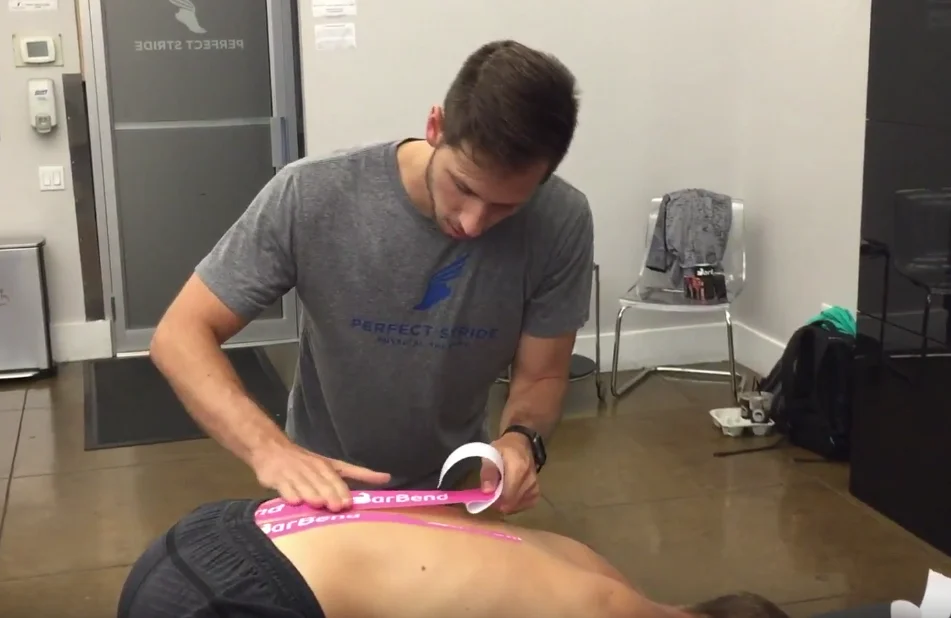
Begin by measuring two strips of tape to span from the PSIS (bony posterior hip landmarks) to the mid-back (thoracic region). Round the edges of the tape to avoid getting them caught on clothes. Next, the athlete will flex the lower back to create skin tension by getting into a child’s pose (sitting into hips and reaching out in front of them).
Once an athlete is in a full child’s pose, then begin by creating a two inch anchor on the first strip of tape. Place the first anchor on the first PSIS and rub it in gently to activate the heat activated adhesive. Peel the rest of the paper off the tape leaving a final two inch anchor for the thoracic, and apply a 20-50% stretch with the tape covering the erector spinae. This tape will run along each side of the spine covering the erector muscles.
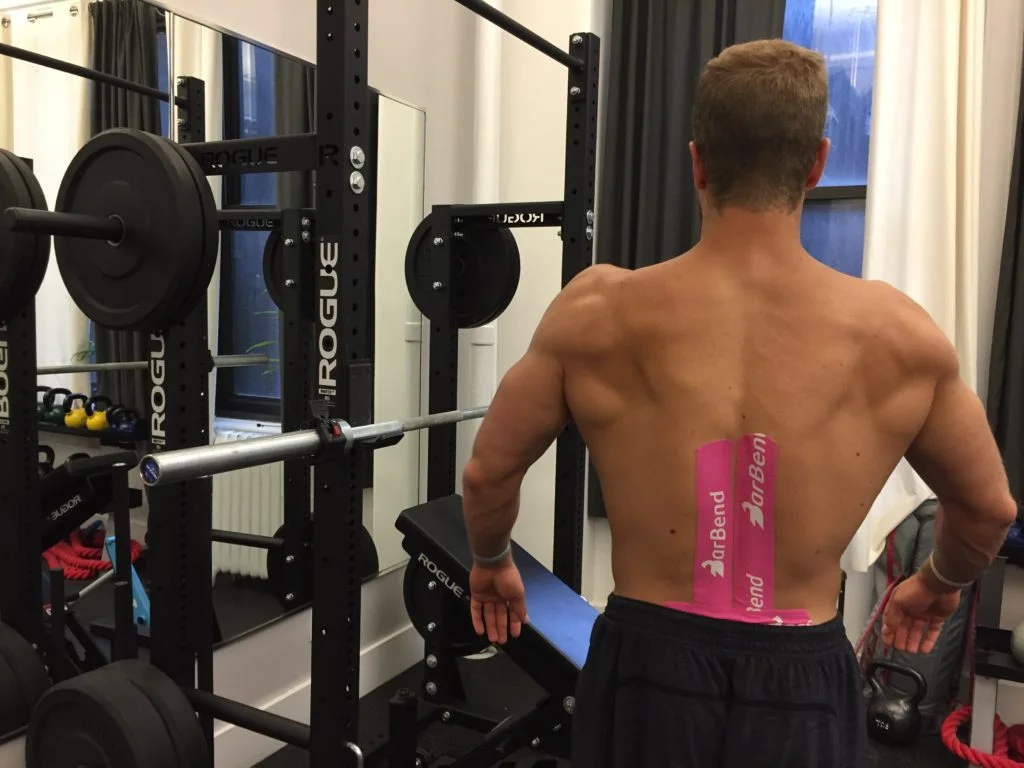
After placing the first strip of tape, then you’ll repeat using the same body landmarks on the opposite side. This taping method will require the use of a friend, coach, or qualified professional for assistance.
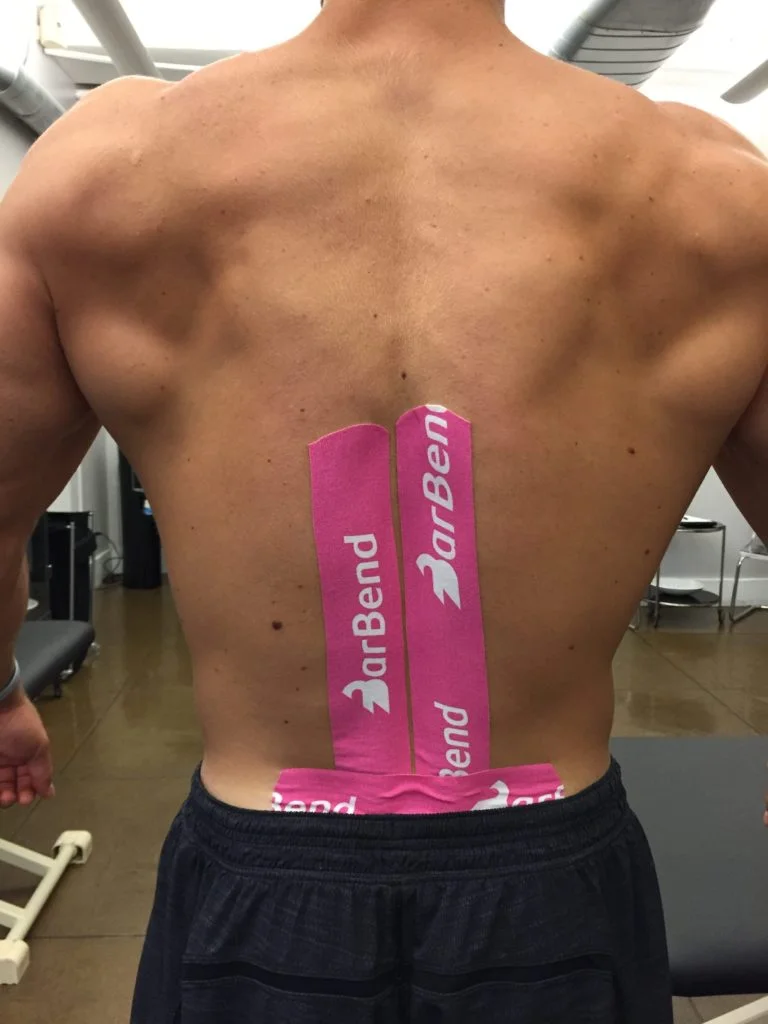
2. Lower Back Decompression Strip
When measuring this strip, select a length that covers both original strips, and so the anchors will be in contact with the skin. Avoid tape on tape contact. Tear this tape in the middle like a band-aid and place the center between the two lower back strips.
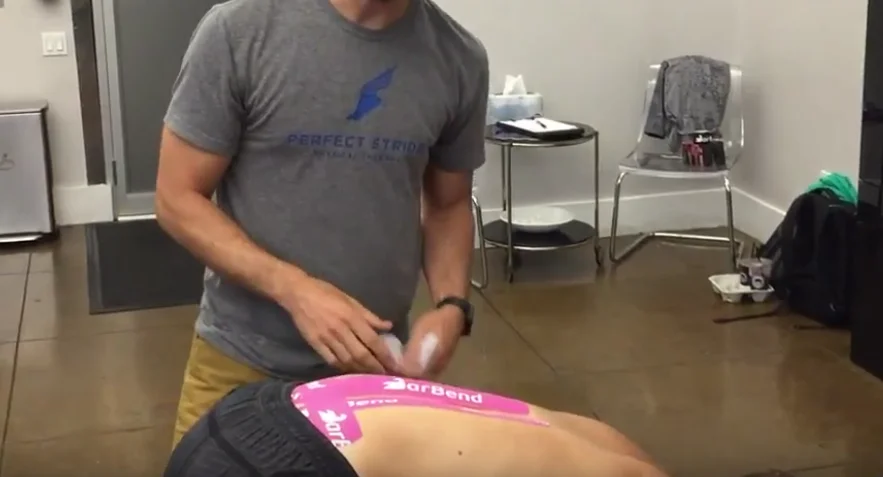
Begin by rubbing in one side, and making sure the anchor is in contact with the skin, not the tape. Add 20-25% tension by pulling on both anchors, place horizontally across the back, and rub on the tape to activate the heat activated adhesive and repeat the same method on the opposite side. Peel and place both anchors down, making sure to have skin contact.
Tips for Lower Back Taping with Kinesiology Tape
Gambino provided us with a few taping tips that some athletes don’t account for, and may not know. Below are five important tips to keep in mind when applying, and having others apply kinesiology tape.
- Create Tension: Pay attention to how the joint moves and create tension with the tape by moving into a child’s pose, which naturally flexes the lower back.
- Proprioception: Gambino stated that tape itself isn’t the cure for joint instability, but it’s a facilitator for the body’s perception of it. The skin is very sensitive and the tape’s ability to create tension will give the brain feedback to increase stability in the joint being taped.
- Stretch: Another aspect Gambino talked about was the amount of stretch for stability. He said that research is conflicted on how much stretch you need, and he usually does 20-50% stretch to enhance the additional proprioceptive feedback.
- Hair and Taking It Off: If you’re excessively hairy in a specific area, then you’ll pull off little pieces at a time, and use your hand to gently repeatedly chop the tape off (in a karate chopping motion). You can also pinch the skin to release some of the tapes tension, while taking it off in a partitioned manner.
- Cut the Edges: The final tip was the cut the edges of the tape, so it’s rounded. This will prevent the corners from getting caught on edges of clothes and shoes.
[Back pain has a ton of causes, but sometimes soft tissue work can help — check out our pick for the best foam roller for back pain.]
Final Lower Back Taping Considerations
Tape on the lower back may be useful for creating a subconscious cue to “set the back”, which is a tool for all strength athletes. Additionally, this taping technique can be useful to promote recovery and cue an athlete to keep their posture in check throughout the day. When used correctly kinesiology tape can be an effective way to improve a lower back’s performance.