There is no debate that the pull-up is one of the greatest upper body building exercises.
Pull-ups should be incorporated into your training because, among many benefits, they can help your bench press (specifically the push at the bottom of the movement off the chest), improve spine stability to strengthen squats and overhead lifts, help your posture, and strengthen your lats and your grip.
We here at the BarBend office were curious about how to best improve to our max pull-ups, so we invited Jaime Da Silva, a member of the Puerto Rican National Gymnastics Team and alternate at the 2019 Gymnastics World Championships, to show us how. Check out the video below from BarBend’s YouTube Channel where Da Silva walks us through, step-by-step, a four move pull-up progression that elite gymnasts like himself, use in training.
A pull-up progression is a series of pull-up variations that are done in order to help increase your max pull-ups. Perform each move of the progression sequentially in training — feel free to adjust the rep range as needed. By doing multiple sets of each movement in the progression in the same training session, the overall volume of pull-ups and their accessories will be higher. Do them regularly, and you can expect a darn strong back.
Even though the weight being moved is your bodyweight, think about improving your max pull-ups the same way you would strengthen any lift. You may be already incorporating back-off sets or drop sets into your training. This pull-up progression is similar to those, except that each move in the progression gets more difficult rather than less.
If one movement is very difficult, the next one will be moreso — if you can’t complete your desired reps of one movement, keep training it until you can and before you move on to the harder exercise.
Each move is fairly simple in practice, but let’s articulate why each one is important, and some key form tips to keep in mind when moving through the progression.
1. Assisted Pull-Up
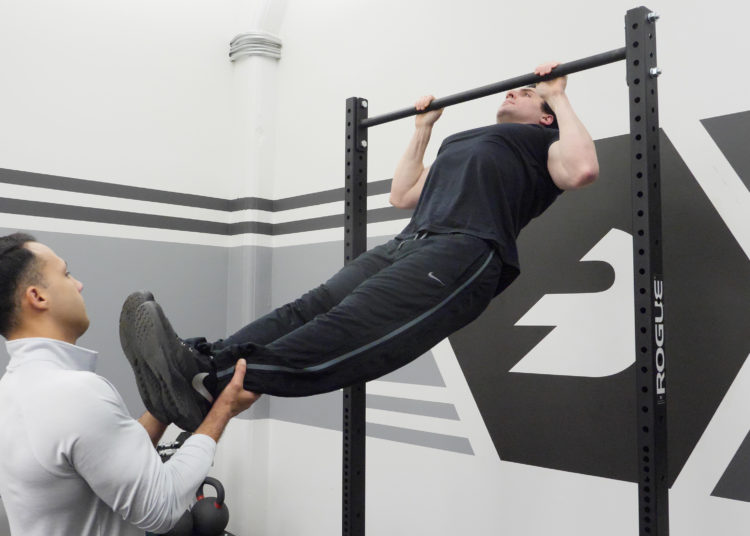
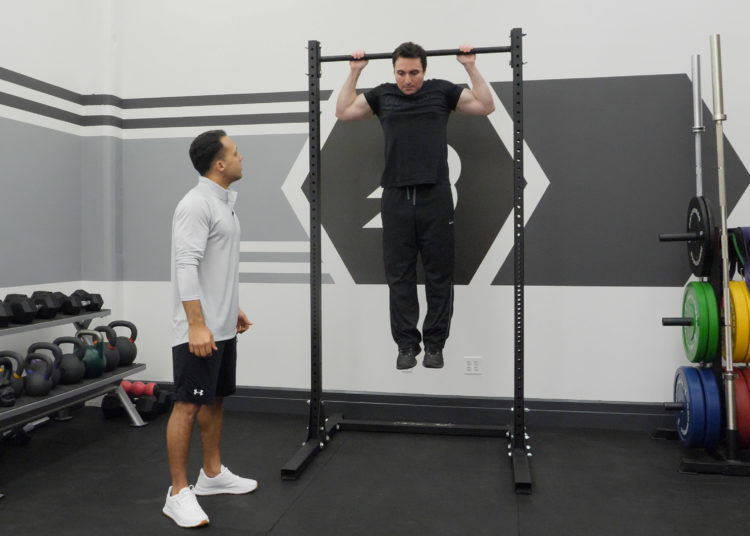
The assisted pull-up consists of hanging on the bar, lifting your legs so that you are in an L-position, and then having a training partner support your feet as you perform each pull-up. This relieves a good portion of body weight during each pull-up, allowing the focus to remain on perfecting form. As these get easier over time, you’ll get the sense that you are strong enough to move on to step two of the progression.
Keep in mind that, even though you have a partner helping you through the movement, your form should be exactly the same as if they were not there. Pull from your elbows, grip the bar hard and ensure your shoulder blades are down and back. Keep your core engaged throughout the entire pull-up.
[Related: Check out our Beginner Pull-Up Program and Guide.]
Parallel Assisted Pull-Up
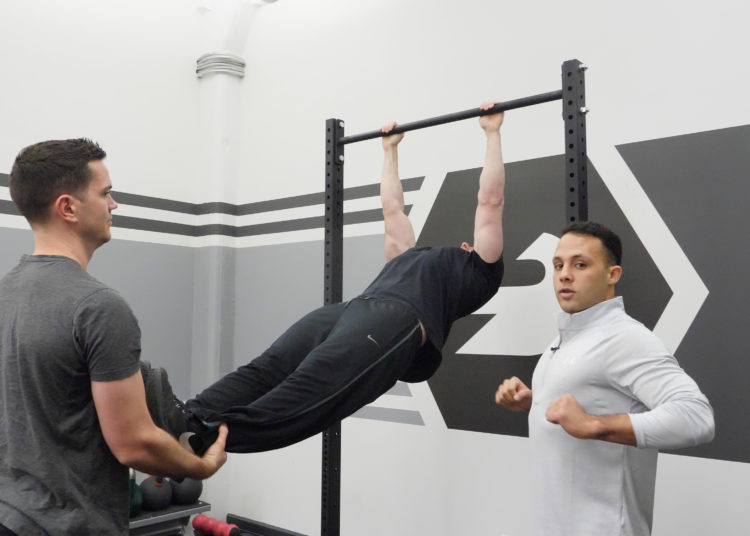
When in the assisted pull-up ‘L’ position, straighten your body so that it is parallel (or almost parallel) to the floor. Your partner will still hold your feet as you pull your chest to the bar. This may feel more like a row than a pull-up — that’s because it is.
These can also be done without a partner if the bar you are pulling up on is low enough for your feet to rest on the ground. Again, when performing this movement, keep your shoulders down and back and your core engaged.
2. Resistance Band Pull-Up
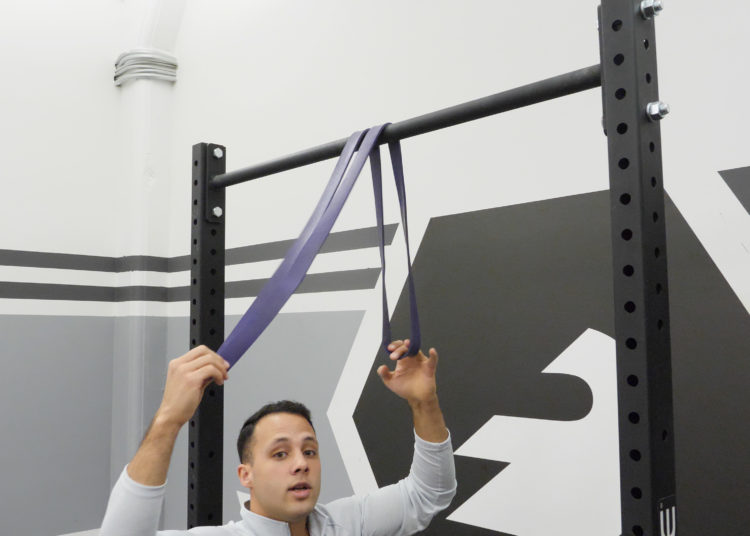
As the name suggests, step two of the progression requires a resistance band. Before we break down the movement, here’s how to properly secure the resistance band to the bar:
- Toss the resistance band over the bar so that half the band hangs down on one side and the other half hangs over the other side.
- Holding both ends of the band, thread one side through the loop of the other.
- Pull the threaded end down until a knot secures against the bar.
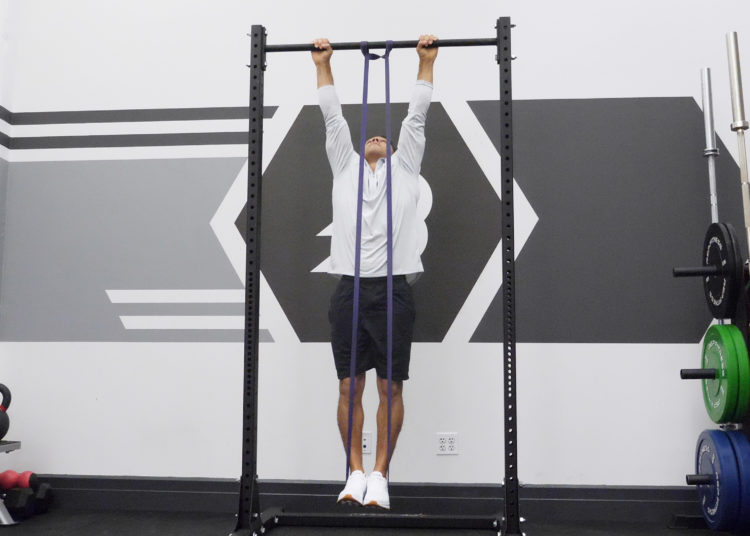
Now, while in a dead hang on the bar, have a partner help you place both feet inside band. You will feel the band alleviate some weight. From there, using proper form, perform a pull-up as normal.
3. Static Hold Pull-Up
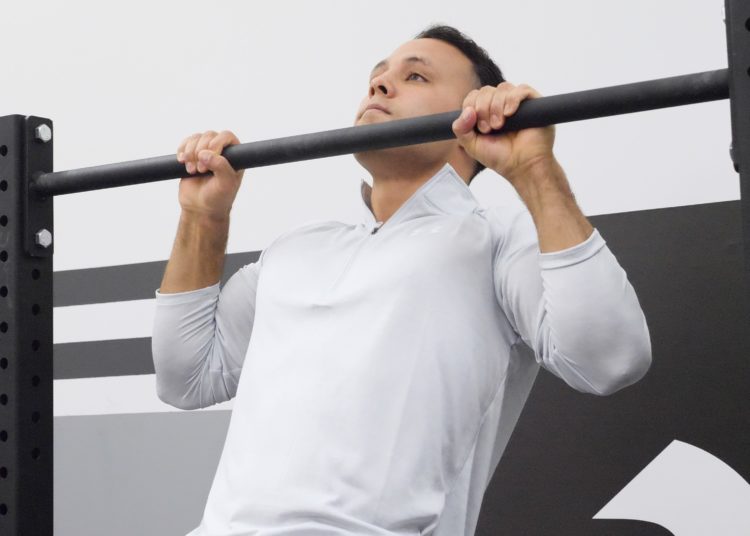
Perform a pull-up and hold at the top when your chin meets the bar. That’s it. Hold that. That’s a static hold. Da Silva suggests aiming for holds to last ten to fifteen seconds. If you are an advanced athlete, aim for thirty seconds.
If you are working towards performing your first pull-up, static holds are doable even without a partner to assist with the first two movements in the progression. Grab a weight bench or something similar to get you to the height of the bar and then perform the static hold from there.
[Related: Watch BarBend’s Editors challenge Jaime Da Silva to a max pull-up challenge.]
4. Pull-Ups & Pull-Ups Into Planche
Once you are able to complete a pull-up, it is then a matter of performing sets of max reps over and over. If done with proper form and properly periodized, your max should increase over time. When performing these sets, your routine should include all the different grips which, for a gymnast, are as follows:
- Overhand Grip (Pull-Up)
- Underhand Grip (Chin-Up)
- Overhand Wide Grip
- Reverse Pull-Up (Behind-the-Head Overhand Wide Grip)
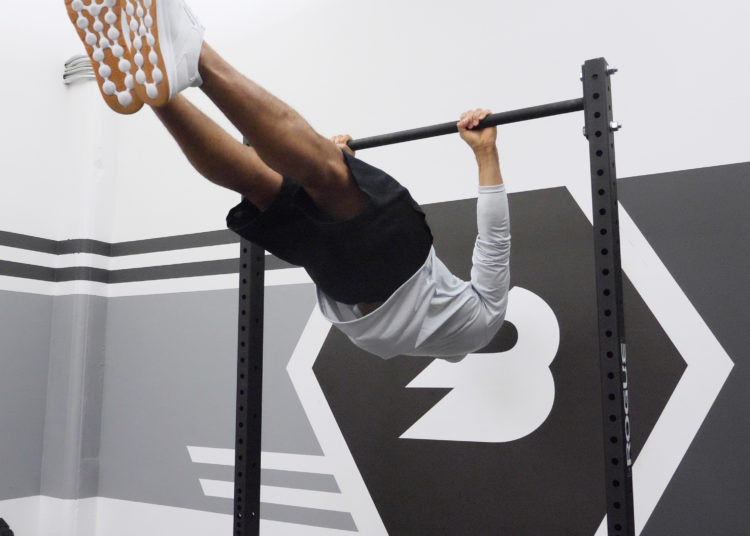
The pull-up into planche truly feels like the next-level move. It may not be super common for you to see, nor is it all that easy (assuming you’re not a world class gymnast like Da Silva), but when you give it a try, it is a very good way to find out which area of your pull-up is lacking.
For the purposes of these pull-ups, a planche is when the body is held above the ground parallel to the floor (in this case facing upward), while maintaining your grip on the bar.
Perform a pull-up normally, and then once at the top, instead of lowering down, extend your arms, lift your legs, and position yourself into a planche. As Da Silva notes, keep your core and lower back engaged. Once there, bend your elbows to resume the pull-up position and then repeat for as many reps as you can.
Yes, this is really hard. Don’t be discouraged if you can’t do it on the first try.
Wrapping Up
Although Jaime Da Silva is a world class gymnast, you don’t have to be to work through this pull-up progression. Do each move in the progression to the best of your ability. If one of the movements is too difficult, try one of the suggested variations. If you can’t do each move in the progression right away, that’s okay. Keep at it. The goal of a progression is progress. Moving through as much of the progression as possible in your training will eventually give you the strength gains to go through it from beginning to end.
Just keep your chin up (over the bar), stay consistent, and you’ll be incorporating planches into your pull-ups and improving your max reps in no time.
